Criando Aplicativos Mobile com React Native
Este artigo é um pontapé inicial no desenvolvimento de aplicativos mobile (Android e iOS) com React Native. Vamos abordar a configuração do ambiente de desenvolvimento e o deploy de um "Hello World" em teu celular Android.
[ Hits: 7.845 ]
Por: Fábio Berbert de Paula em 10/04/2020 | Blog: https://fabio.automatizando.dev

Criando o primeiro projeto
Com o terminal aberto, digite:
react-native init VivaOLinux
Acho que dá tempo de ir tomar um cafezinho, o cliente irá baixar uma penca de arquivos da internet...
Será criada uma pasta chamada "VivaOLinux". Você obviamente irá colocar o nome de seu projeto ao invés de VivaOLinux no comando acima.
cd VivaOLinux
ls
android
App.js
app.json
babel.config.js
index.js
ios
metro.config.js
node_modules
package.json
package-lock.json
__tests__
E tcharam!!! Temos um projeto React Native! O arquivo inicial é o "index.js", que por sua vez aponta para "App.js". Em artigos futuros falaremos mais sobre eles.
Agora queremos executar esse projeto em um dispositivo Android. É possível fazer isso criando um emulador Android no Studio ou conectando nosso celular ao PC. Eu particularmente prefiro conectar o celular, é bem mais rápido que o emulador, acreditem! Para isso utilizaremos a ferramenta adb (Android Debug Bridge).
Execute no terminal:
adb devices
List of devices attached
Por enquanto não temos dispositivos conectados. Então faça o seguinte, conecte teu celular ao PC usando o cabo USB e tente novamente:
adb devices
List of devices attached
192.168.1.108:5555	device
NOTA: estou supondo que você já habilitou depuração USB em opções do desenvolvedor no teu Android. Se nunca fez isso, dê um pulinho no Google e pesquise sobre o assunto. É molezinha! Qualquer coisa pergunte nos comentários aqui. E claro, o nome do teu dispositivo não será 192.168..5555.
Com o dispositivo conectado, vamos iniciar o "metro server", que servirá para depuração e atualização em tempo real de nosso aplicativo em desenvolvimento.
No diretório do projeto execute:
react-native start
               ######                ######
             ###     ####        ####     ###
            ##          ###    ###          ##
            ##             ####             ##
            ##             ####             ##
            ##           ##    ##           ##
            ##         ###      ###         ##
             ##  ########################  ##
          ######    ###            ###    ######
      ###     ##    ##              ##    ##     ###
   ###         ## ###      ####      ### ##         ###
  ##           ####      ########      ####           ##
 ##             ###     ##########     ###             ##
  ##           ####      ########      ####           ##
   ###         ## ###      ####      ### ##         ###
      ###     ##    ##              ##    ##     ###
          ######    ###            ###    ######
             ##  ########################  ##
            ##         ###      ###         ##
            ##           ##    ##           ##
            ##             ####             ##
            ##             ####             ##
            ##          ###    ###          ##
             ###     ####        ####     ###
               ######                ######

                 Welcome to React Native!
                Learn once, write anywhere


To reload the app press "r"
To open developer menu press "d"
O terminal ficará preso. Precisaremos abrir outro terminal na pasta do projeto...
Já fez? Ótimo! Então agora vamos executar o projeto no celular:
react-native run-android
Fique ligado que na primeira execução o teu celular irá perguntar se você deseja instalar o aplicativo no aparelho, responda que sim. Vai demorar um pouquinho, mas o resultado final será o aplicativo na tela do teu mobile:
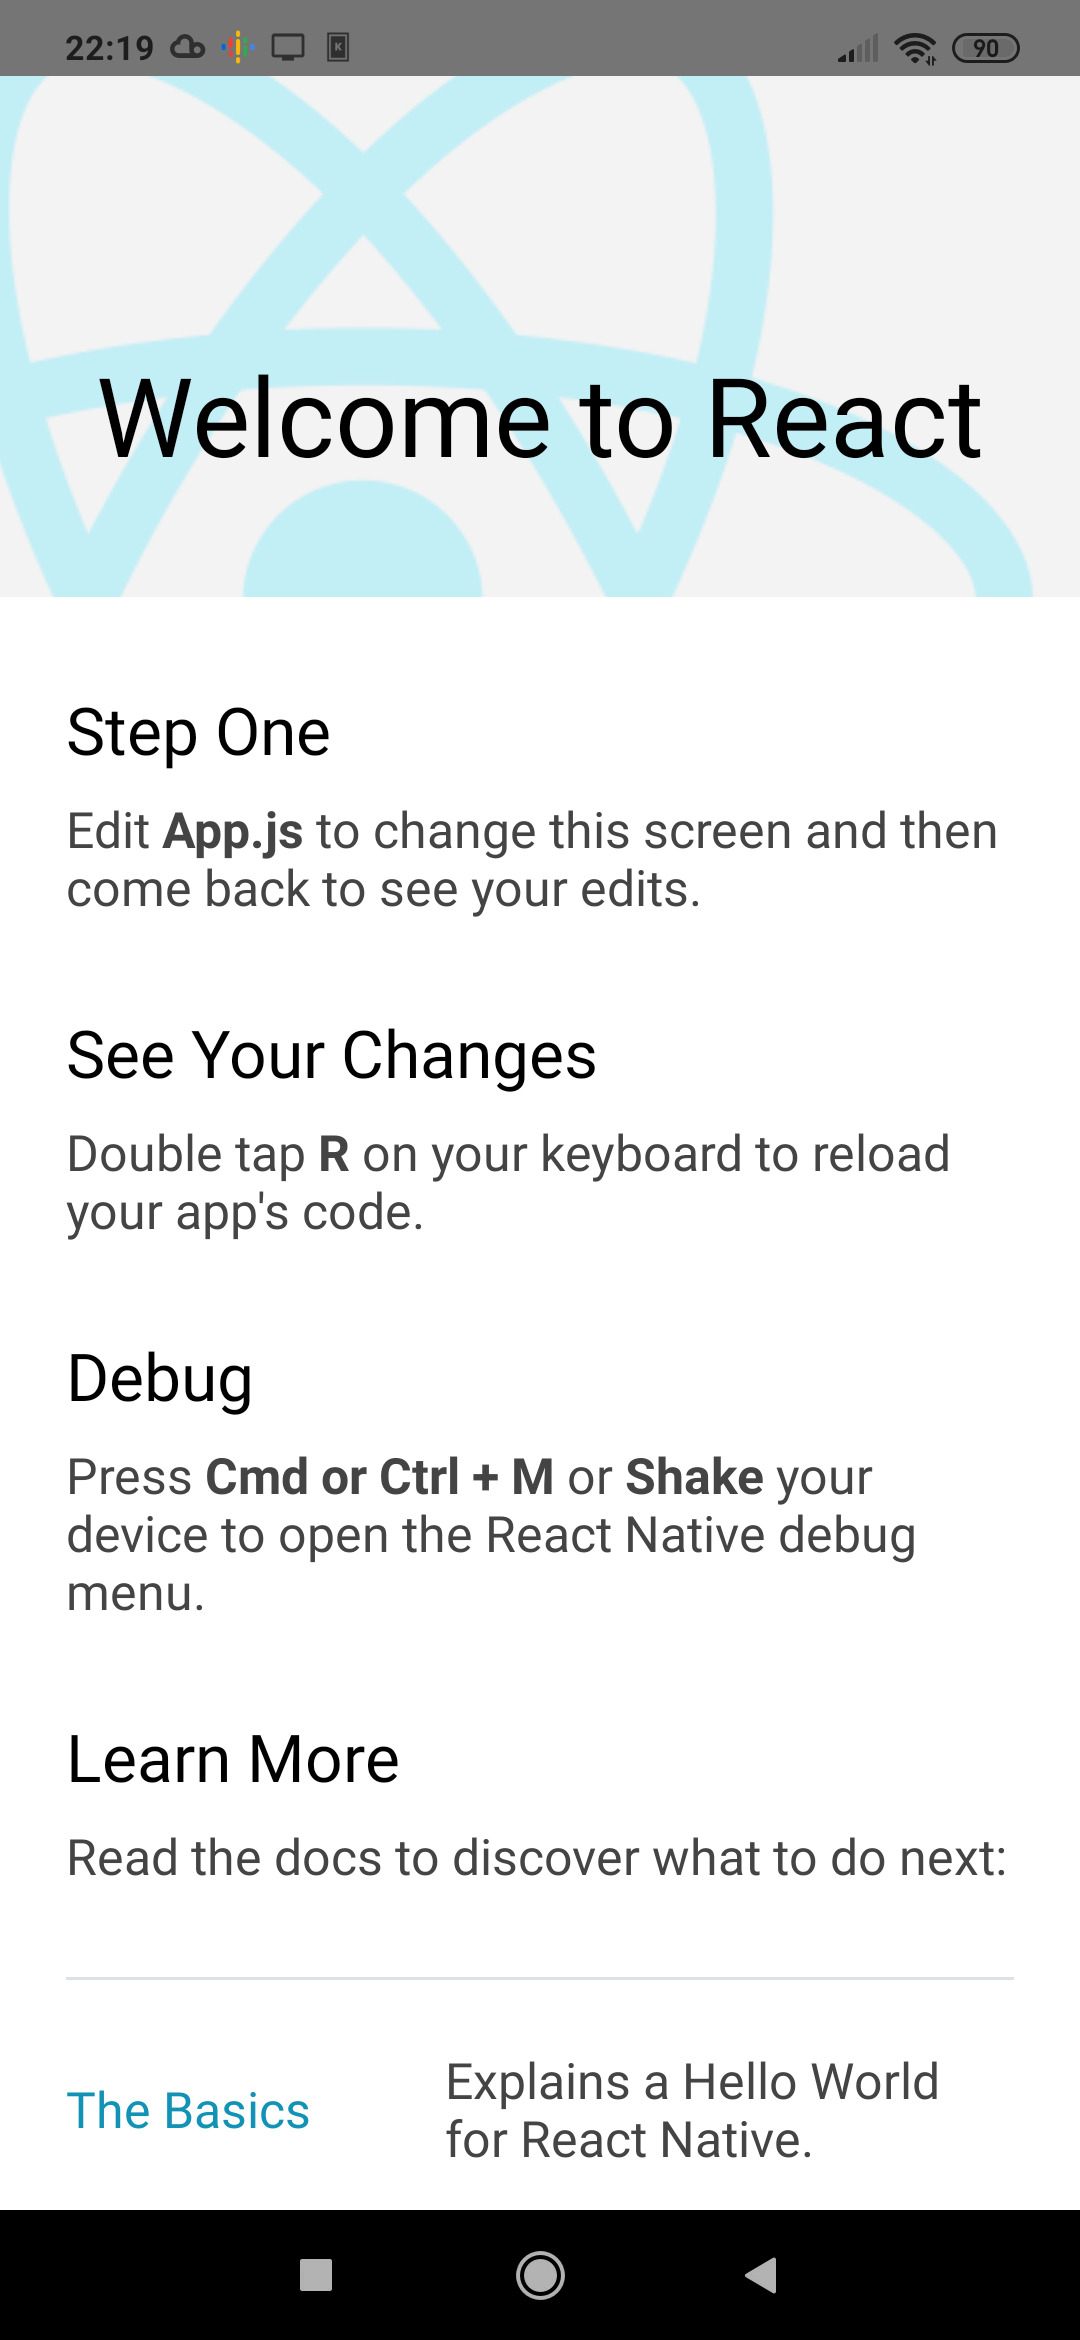
/**
 * Sample React Native App
 * https://github.com/facebook/react-native
 *
 * @format
 * @flow strict-local
 */

import React from 'react';
import {
  SafeAreaView,
  StyleSheet,
  ScrollView,
  View,
  Text,
  StatusBar,
} from 'react-native';

import {
  Header,
  LearnMoreLinks,
  Colors,
  DebugInstructions,
  ReloadInstructions,
} from 'react-native/Libraries/NewAppScreen';

const App: () => React$Node = () => {
  return (
    <>
      <StatusBar barStyle="dark-content" />
      <SafeAreaView>
        <ScrollView
          contentInsetAdjustmentBehavior="automatic"
          style={styles.scrollView}>
          <Header />
          {global.HermesInternal == null ? null : (
            <View style={styles.engine}>
              <Text style={styles.footer}>Engine: Hermes</Text>
            </View>
          )}
          <View style={styles.body}>
            <View style={styles.sectionContainer}>
              <Text style={styles.sectionTitle}>Step One</Text>
              <Text style={styles.sectionDescription}>
                Edit <Text style={styles.highlight}>App.js</Text> to change this
                screen and then come back to see your edits.
              </Text>
            </View>
            <View style={styles.sectionContainer}>
              <Text style={styles.sectionTitle}>See Your Changes</Text>
              <Text style={styles.sectionDescription}>
                <ReloadInstructions />
              </Text>
            </View>
            <View style={styles.sectionContainer}>
              <Text style={styles.sectionTitle}>Debug</Text>
              <Text style={styles.sectionDescription}>
                <DebugInstructions />
              </Text>
            </View>
            <View style={styles.sectionContainer}>
              <Text style={styles.sectionTitle}>Learn More</Text>
              <Text style={styles.sectionDescription}>
                Read the docs to discover what to do next:
              </Text>
            </View>
            <LearnMoreLinks />
          </View>
        </ScrollView>
      </SafeAreaView>
    </>
  );
};

const styles = StyleSheet.create({
  scrollView: {
    backgroundColor: Colors.lighter,
  },
  engine: {
    position: 'absolute',
    right: 0,
  },
  body: {
    backgroundColor: Colors.white,
  },
  sectionContainer: {
    marginTop: 32,
    paddingHorizontal: 24,
  },
  sectionTitle: {
    fontSize: 24,
    fontWeight: '600',
    color: Colors.black,
  },
  sectionDescription: {
    marginTop: 8,
    fontSize: 18,
    fontWeight: '400',
    color: Colors.dark,
  },
  highlight: {
    fontWeight: '700',
  },
  footer: {
    color: Colors.dark,
    fontSize: 12,
    fontWeight: '600',
    padding: 4,
    paddingRight: 12,
    textAlign: 'right',
  },
});

export default App;
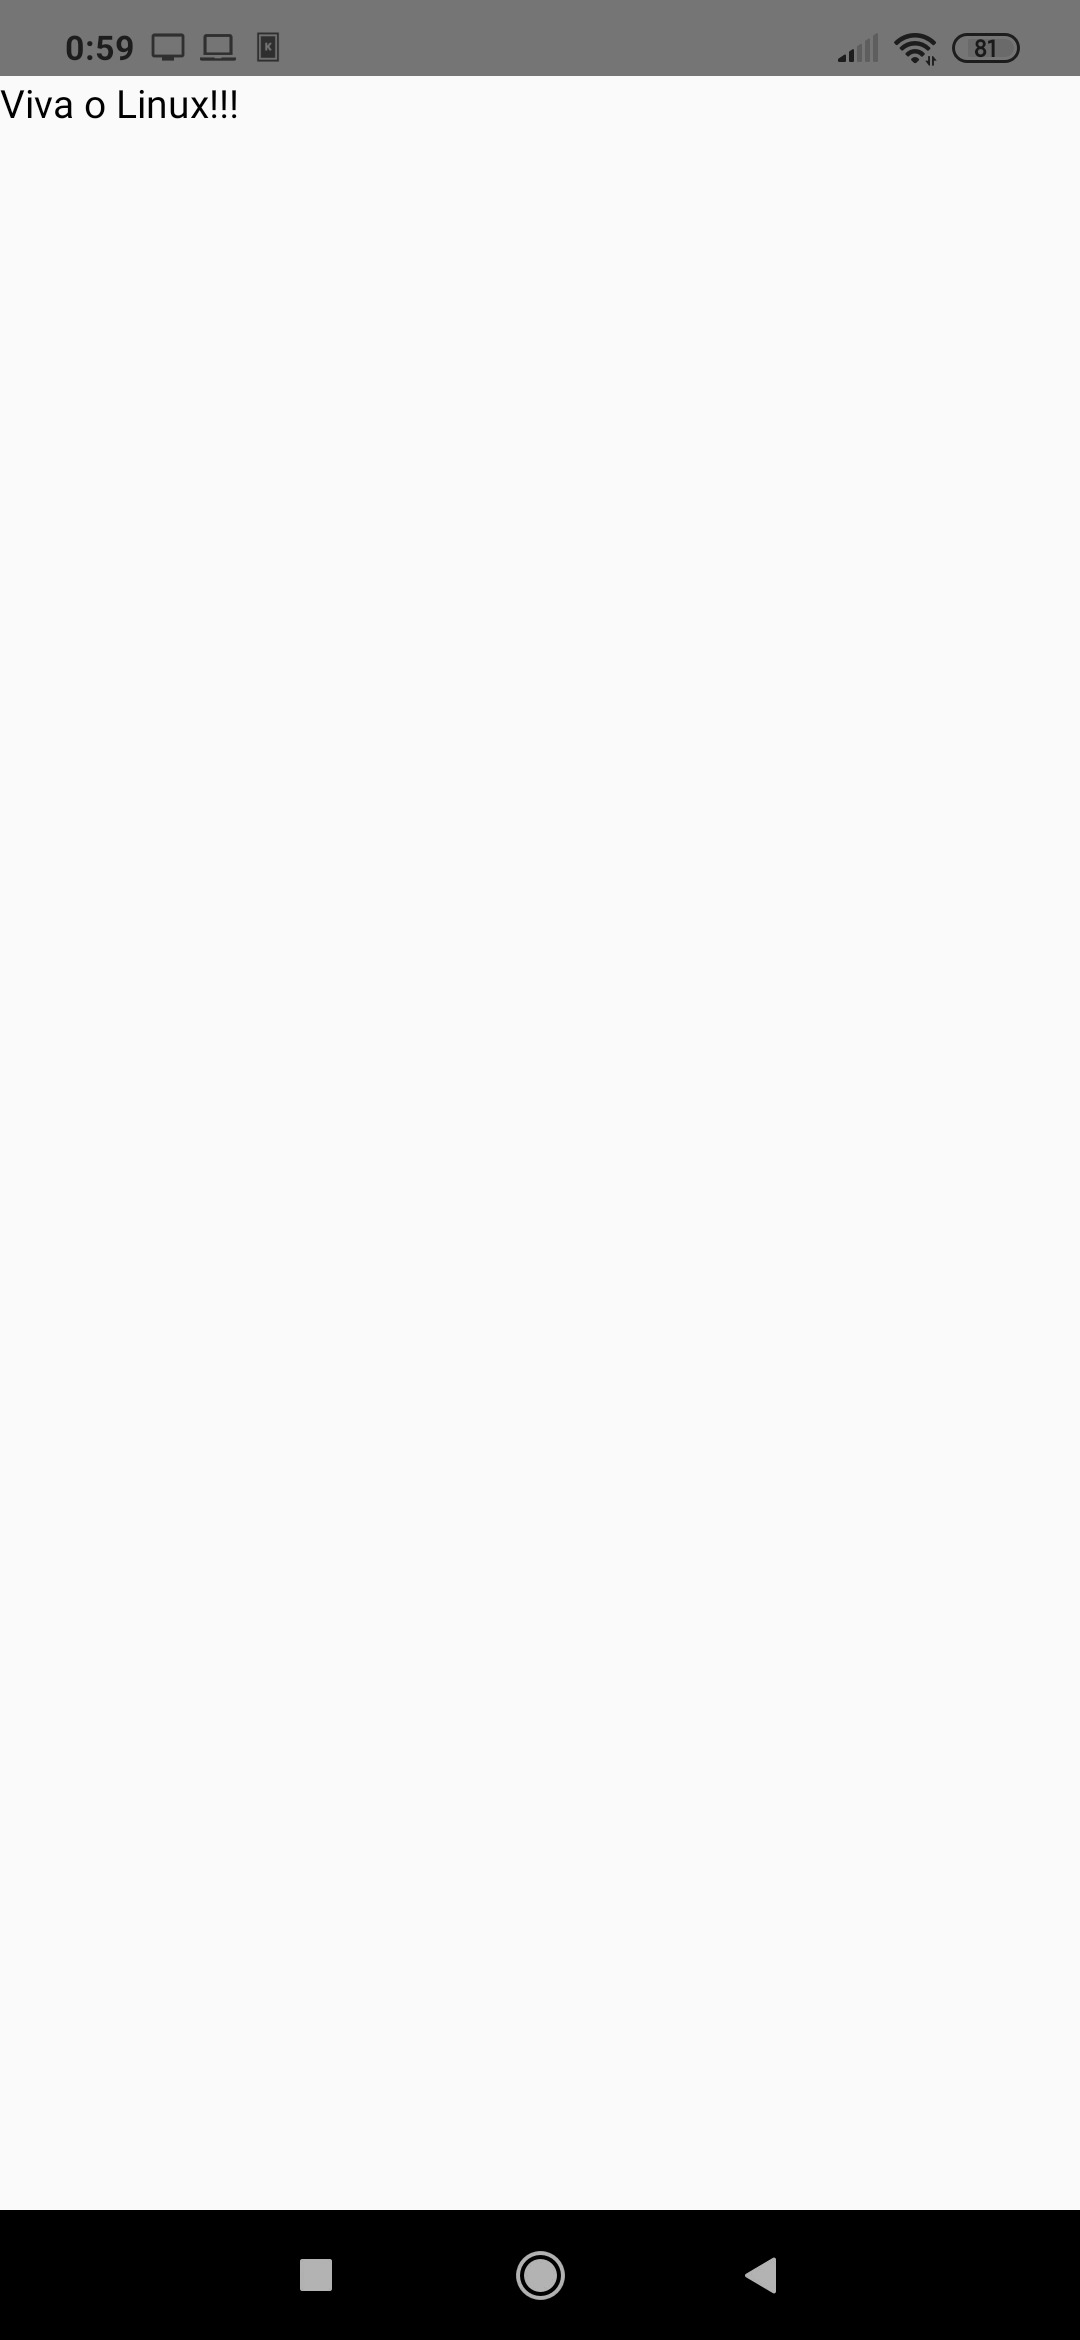
Vamos alterá-lo? Exclua seu conteúdo e substitua por:
import React, { Component } from 'react'
import { Text } from 'react-native'

export default class App extends Component {
   render() {
      return (
         <Text>Viva o Linux!!!</Text>
      )
   }
}
Note que o aplicativo já mudou de cara automaticamente no teu celular. A mágica é obtida por conta do Metro Server, que está rodando num terminal na pasta do projeto com o comando "react-native start", lembra?
import React, { Component } from 'react'
import { StyleSheet, View, Text } from 'react-native'
export default class App extends Component {
render() {
return (
<View style={styles.view}>
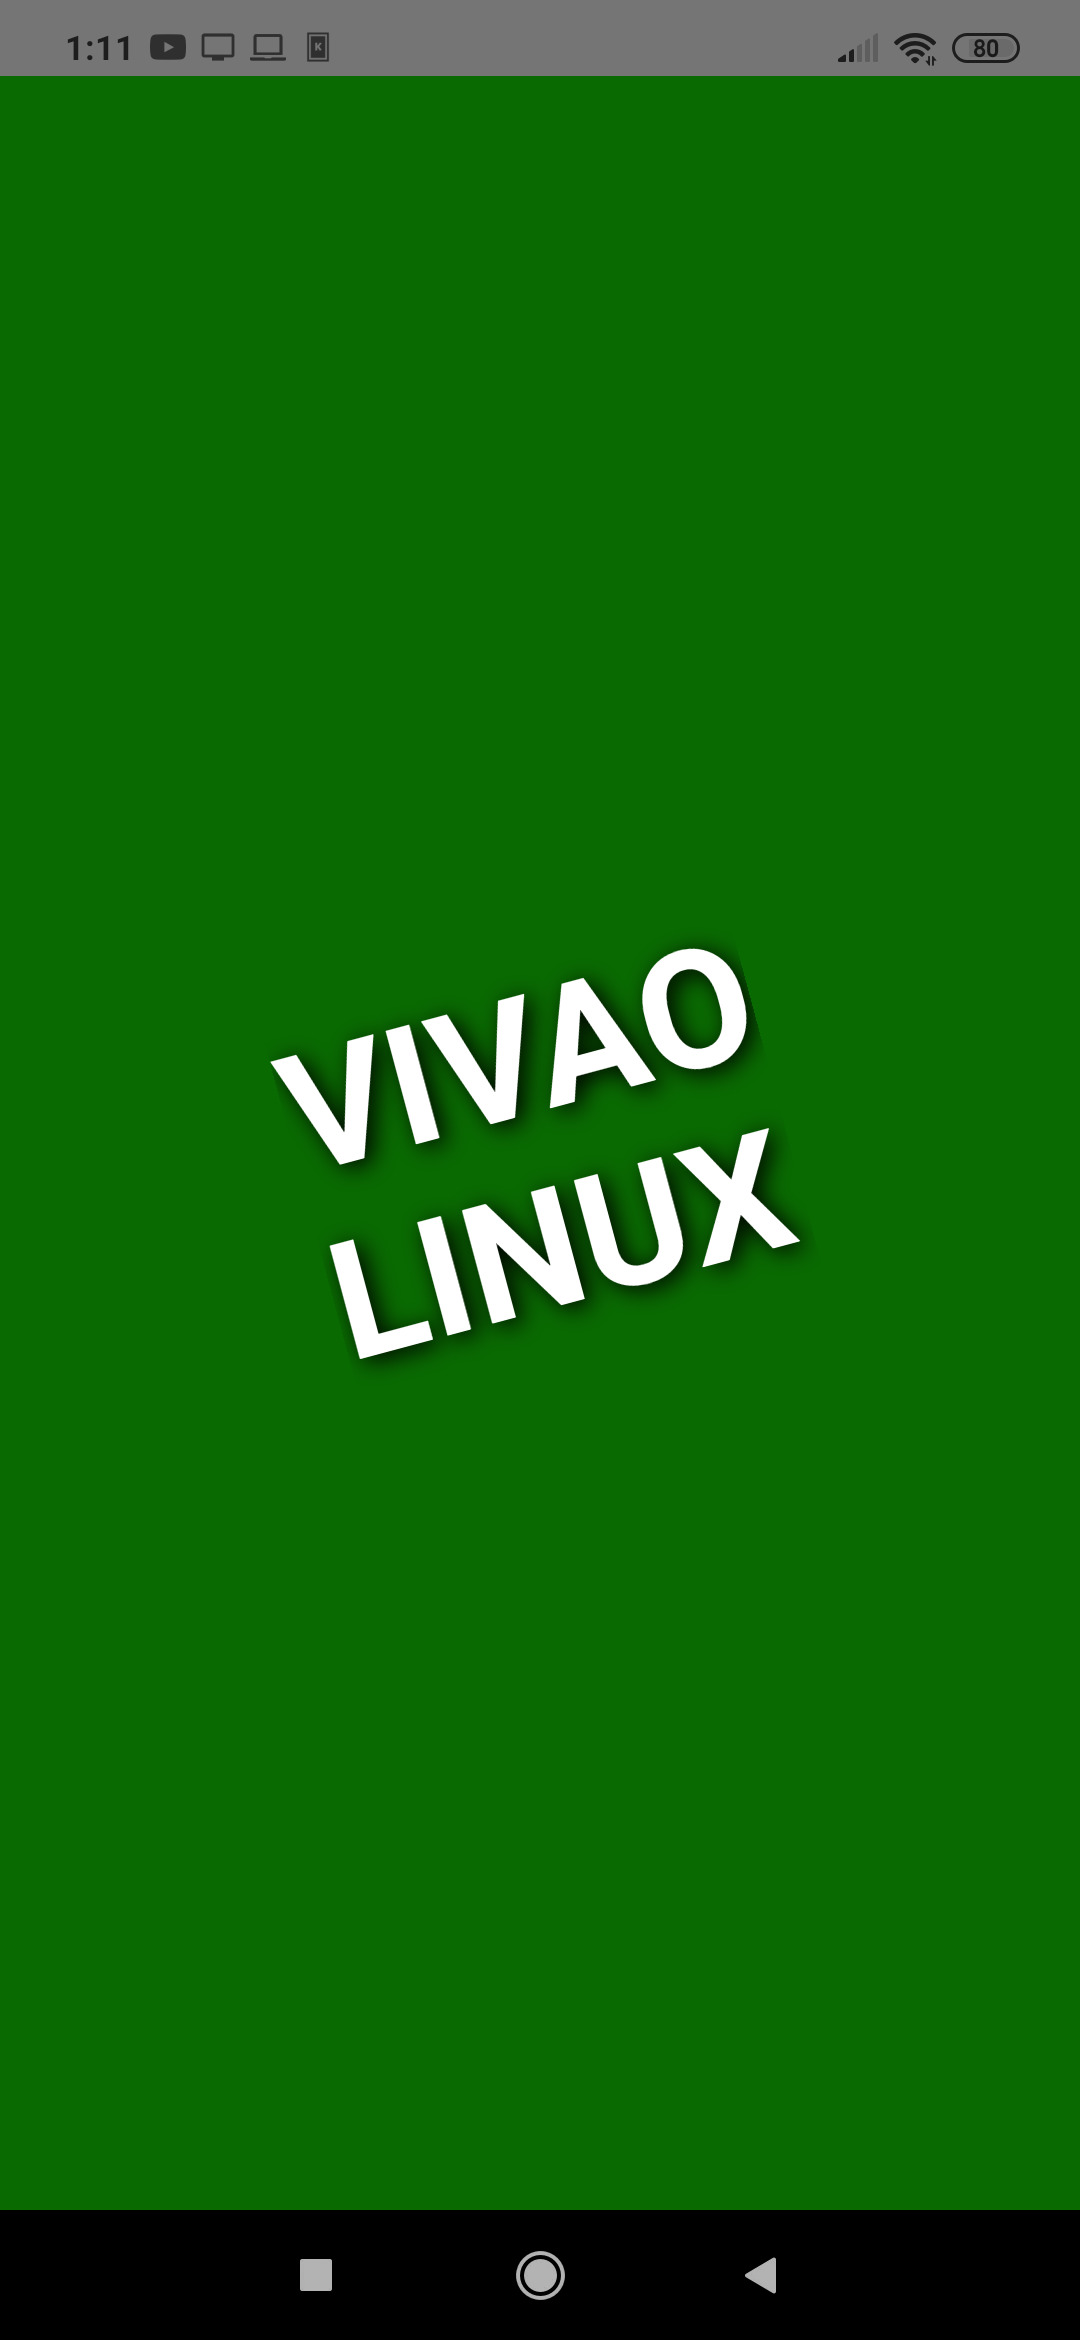
<Text style={styles.text}>Vivao{'\n'}Linux</Text>
</View>
)
}
}
const styles = StyleSheet.create({
view: {
flex: 1,
alignItems: 'center',
justifyContent: 'center',
backgroundColor: '#096A01',
},
text: {
color: '#ffffff',
fontSize: 60,
fontWeight: 'bold',
textTransform: 'uppercase',
textShadowColor: '#000000',
textShadowRadius: 20,
textShadowOffset: {width: 2, height: 2},
transform: [{ rotate: '-15deg'}]
}
})
2. Android Studio
3. Criando o primeiro projeto
Convertendo Texto em Fala com Python e pyttsx3
Como transformar um áudio em vídeo com efeito de forma de onda (wave form)
Clicador automático de Tinder com Python
Kernel turbinado e GNOME 49 dominam o giro do dia no mundo Linux
Diversão e Entretenimento no Linux
Dicas simples para dar mais usabilidades aos formulários
RSS - O antes e o depois já nas bancas!
Novo tipo de vírus pode afetar tanto Windows quanto Linux
CSS - Manual de Estilo (parte 2)
DesignCap - Ferramenta de design gráfico para leigos
Nenhum comentário foi encontrado.
Patrocínio

Destaques
Artigos
Faça suas próprias atualizações de pacotes/programas no Void Linux e torne-se um Contribuidor
Como rodar o Folding@home no Linux
Criando um painel de controle (Dashboard) para seu servidor com o Homepage
O Abismo entre o Código e o Chão: Saltos Tecnológicos e a Exclusão Estrutural no Brasil
Instalar e Configurar a santíssima trindade (PAP) no Void Linux
Dicas
Pisando no acelerador do Linux Mint: Kernel XanMod, zRAM e Ajustes de Swap
Como compilar kernel no Linux Mint
Lançamento do Brutal DOOM test 6
Consertando o erro no Brave de webgl
Solução para ter de volta as bordas e barra de títulos das janelas em zenity no Debian 13.x
Tópicos
Seno, Coseno, Tangente em CLIPPER (0)
Inserir uma URL num arquvo pelo Ubuntu (CLIPPER) (0)
VMWare Player não conecta na rede nem consigo intercambiar arquivos (1)
Top 10 do mês
-

Xerxes
1° lugar - 140.871 pts -

Fábio Berbert de Paula
2° lugar - 65.342 pts -

Buckminster
3° lugar - 45.453 pts -

Alberto Federman Neto.
4° lugar - 35.891 pts -

Sidnei Serra
5° lugar - 24.496 pts -

Alessandro de Oliveira Faria (A.K.A. CABELO)
6° lugar - 23.224 pts -

edps
7° lugar - 23.018 pts -

Daniel Lara Souza
8° lugar - 20.921 pts -

Mauricio Ferrari (LinuxProativo)
9° lugar - 20.331 pts -

Andre (pinduvoz)
10° lugar - 16.878 pts
Scripts
A maior comunidade GNU/Linux da América Latina! Artigos, dicas, tutoriais, fórum, scripts e muito mais. Ideal para quem busca auto-ajuda.
Site hospedado por: